
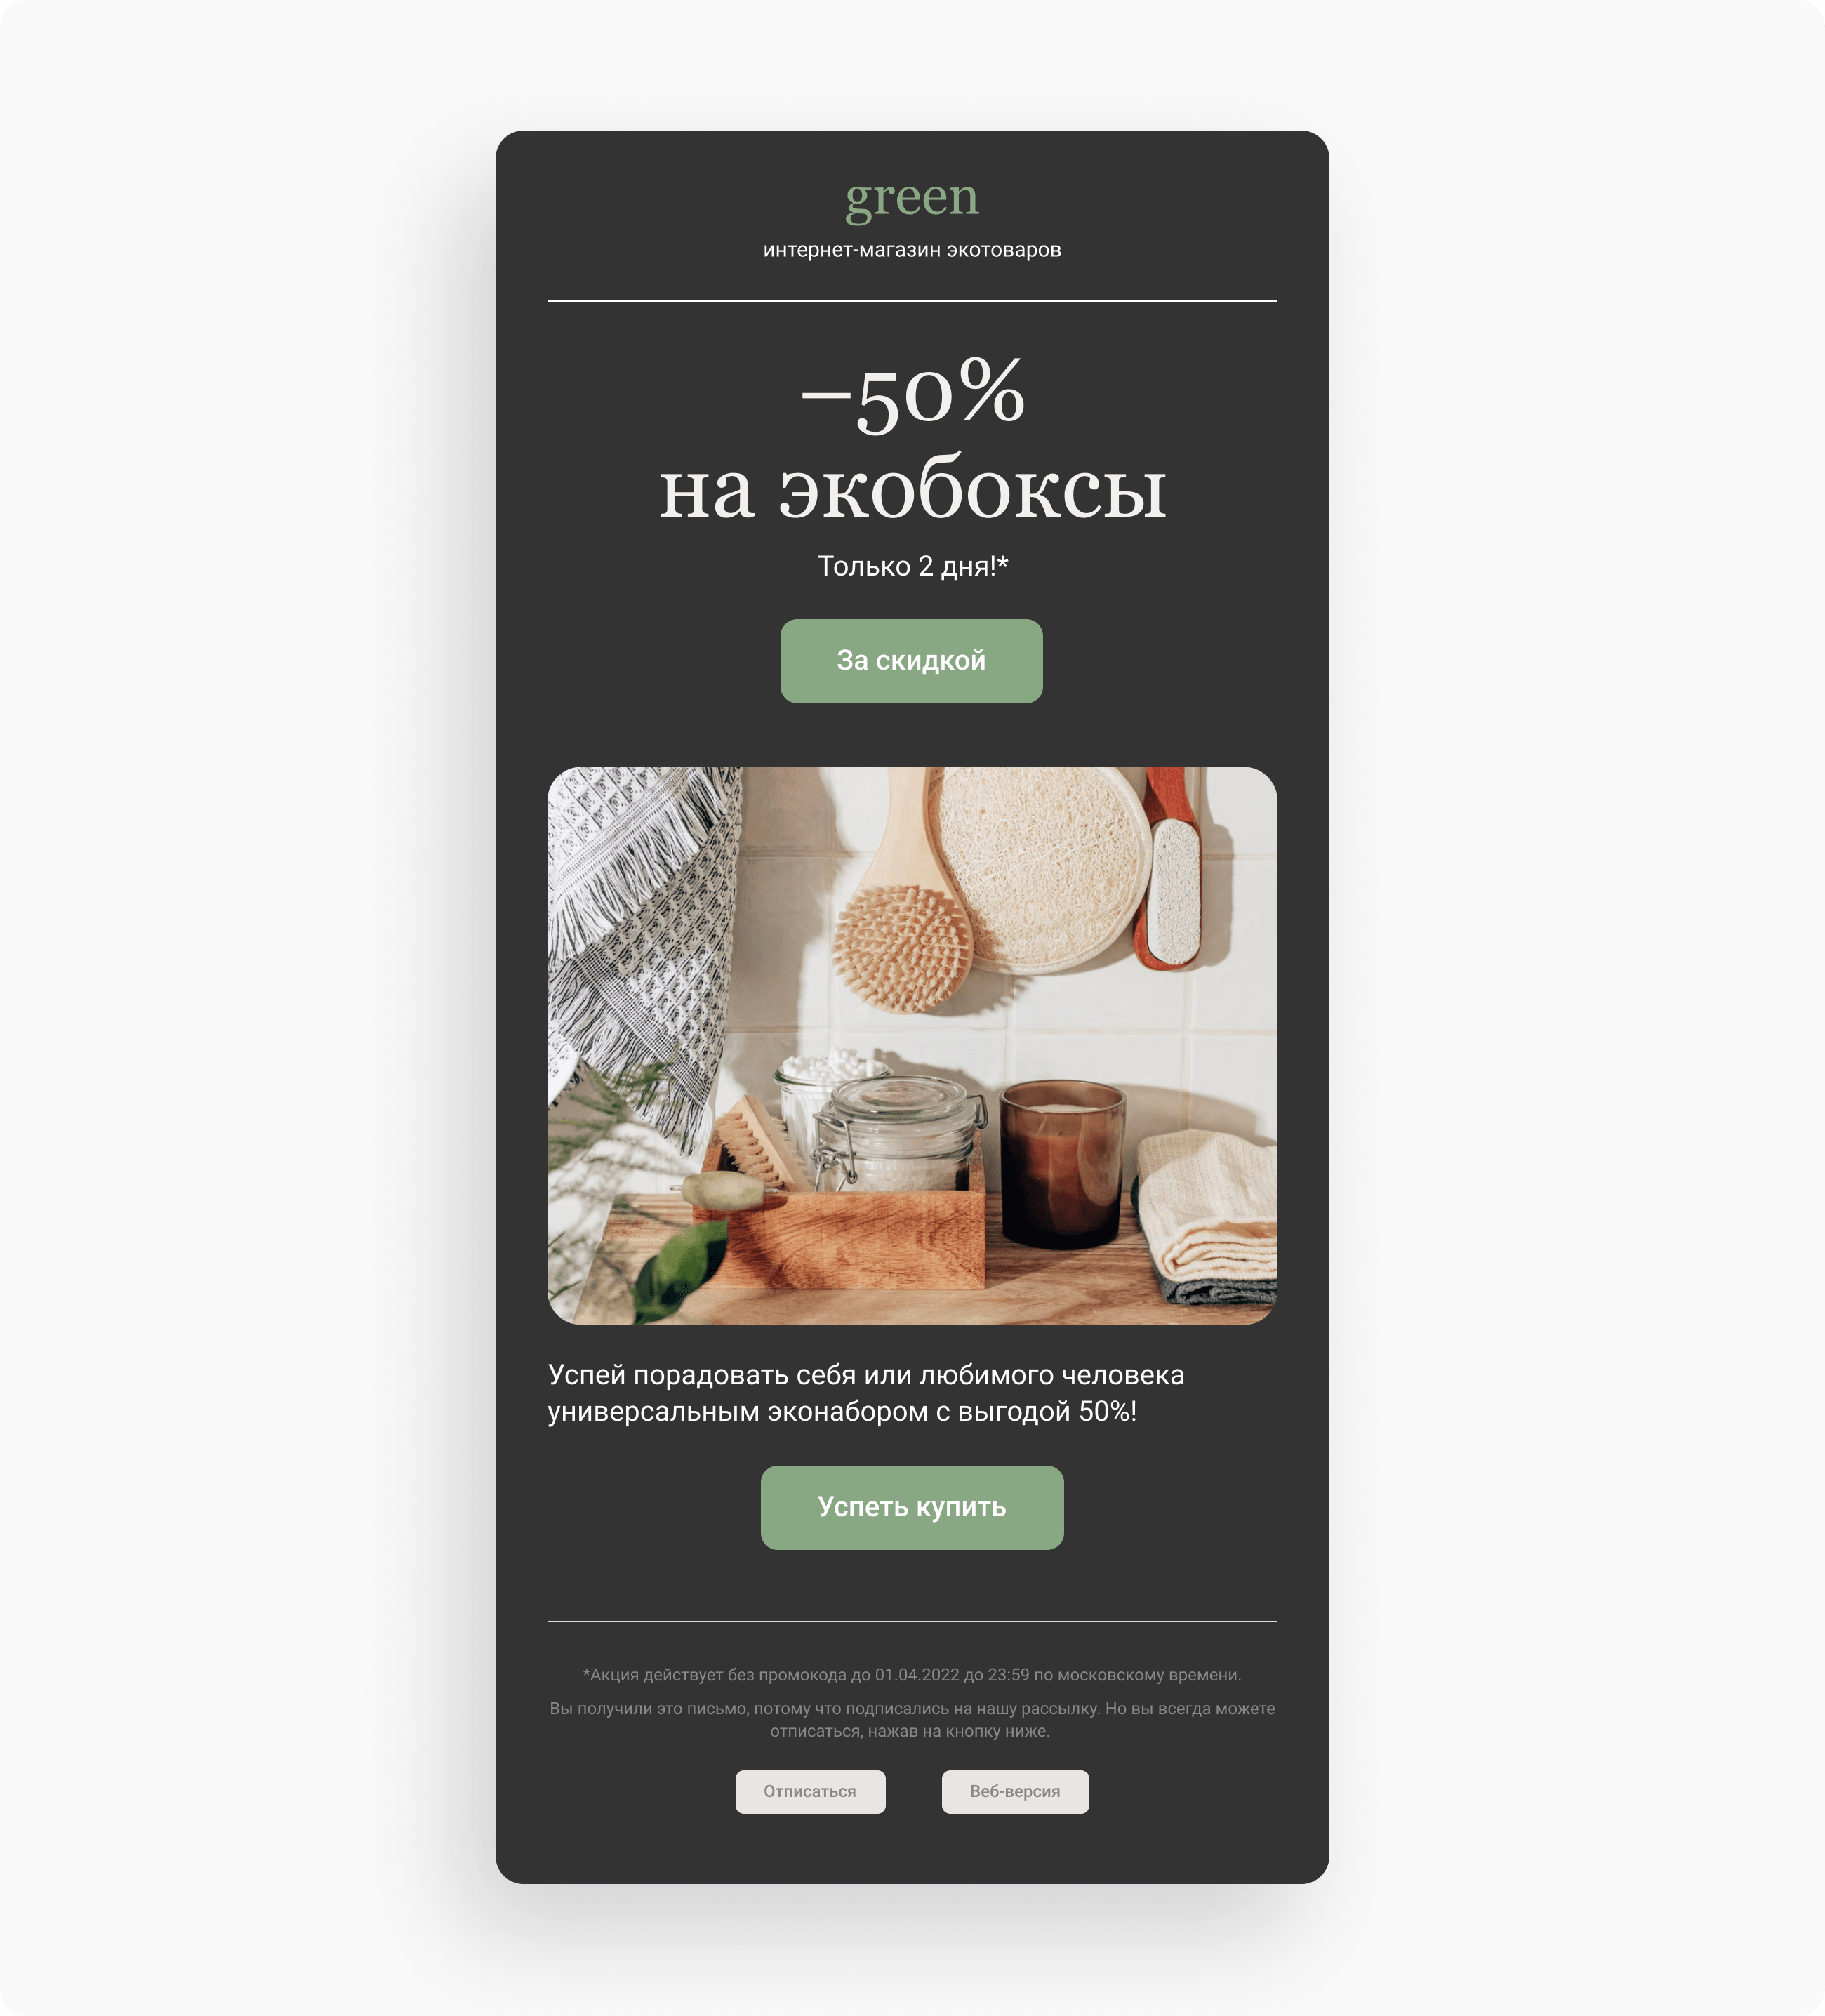
In the last lesson, you got to know the email "skeleton" — a template that helps adapt an email to any device. Let's fill it with content!
Take another look at the campaign from last lesson's homework:

What elements do we see here? Images, headings, text, links, buttons — these are essentially the core elements every email campaign is made of. Let's talk about them.
Let's start with the simplest one — text.
Text
Here's the code for text:
<div style="line-height: 14px;">
<span style="font-family: Arial, Tahoma, Helvetica, sans-serif; font-size: 12px; color:#000000; font-weight: normal; text-decoration: none;">
text
</span>
</div>
Let's break it down: as you already know, <div> is a block element that takes up all the available space from the left edge of the page to the right [unless its width is constrained]. In our case, this tag is used to separate paragraphs.
The line-height value in the style attribute sets the line height — 14px. Then the text tag <span> opens, with its style spelled out: font [font-family], size [font-size], color [color], weight [font-weight], and decoration [text-decoration].
But why are three fonts listed at once [Arial, Tahoma, Helvetica]? Here's why: when the browser encounters the first font in the list, it checks whether it's available on the user's device. If that font isn't there, it moves on to the next name and checks that one too. The list usually ends with a font type — in our case, sans-serif [a font without serifs].
Notice that web-safe fonts are used here. Also notice their size: 12px. It should be smaller than the line height [14px], or equal to it — but in that case, serifs or dots above letters can spill outside the line and overlap adjacent ones. If the line height is smaller than the font size, everything falls apart. There's also a design rule for readable body text: line height should be 30–50% larger than the font size.
Font-weight sets the font's weight: bold for bold text, normal for regular text [by the way, values like 500, 600, 800, etc. don't work in emails]. Text-decoration styles the text: underline adds an underline, line-through strikes it through, or none cancels all effects. That last value is handy when you need to remove the underline from a link.
The text style is set — all that's left is to add the text itself and close the </span> and </div> tags. But there's a nuance: the text should use non-breaking spaces, so no preposition in your email is left dangling at the end of a line [this makes the text feel more cohesive and visually pleasant]. There are also special characters [used for symbols that aren't on a standard keyboard] that help the text display the way it should. Here are a few common ones:

Before inserting text into the code, run it through a typograph tool. This is a program that brings the text in line with proper on-screen typography rules: it replaces straight quotes with curly ones, removes extra spaces, swaps hyphens for dashes, and inserts non-breaking spaces. We recommend the Lebedev typograph.
By the way, the same structure is used for headings:
<div style="line-height: 38px;">
<span style="font-family: Arial, Tahoma, Helvetica, sans-serif; font-size: 36px; color:#000000; font-weight: bold; text-decoration: none;">
heading
</span>
</div>
As you can see, it's exactly the same, except for the font size and line height.
Now let's move on to links.
Links
First, let's figure out where clickable links in the code come from in the first place. There are two approaches: absolute and relative.
An absolute address is a regular URL that starts with the http:// protocol. In markup, such links are set with the <a> tag and its href attribute. The syntax looks like this:
<a href="URL">…</a>
Absolute links are usually used to point to another resource on the network. This suits us well, since links in an email typically lead somewhere like the company's website. There's one catch: if the page [document, image, etc.] moves to a different address, the link breaks.
A relative address is specified relative to some location and depends on where the file that contains the link is located. This approach is used when the files are on the same site: when the browser doesn't find an http:// protocol in the link, it looks for the specified document on the same server.
Relative links have three notations:
/ points to the root folder;
./ points to the current folder;
../ means you need to go up one folder.
For example, here the path points to a file in the images folder located at the root of the current site:
<img src="/images/picture.jpg" …>
And here the path points to a file in the images folder located in the current folder:
<img src="images/picture.jpg" …>
This example shows a file in the images folder located one level above the current folder:
<img src="../images/picture.jpg" …>
As you can see, a relative path contains the name of the folder that points the way to the file, plus the file name. The catch is that these kinds of link paths don't work in emails 🙂 You can upload an email with images loaded via either an absolute or a relative path to a sending platform, but the platform will simply upload those images to its own hosting and rewrite the paths from relative to absolute.
Now that paths are sorted out, let's look at how to add a link in the code:
<a href="link" target="_blank" style="font-family: Tahoma, Arial, Helvetica, sans-serif; font-size: 14px; color: #808080;text-decoration:underline;">
link text
</a>
The <a> tag lets its contents be read as a link. The first attribute, href, indicates where the link leads [to a page or a file]. Next comes the target attribute — it determines where the link opens. By default, links open in the current browser window, but that's inconvenient. That's why the _blank value is set here, which opens the link in a new tab.
In email coding, this is a must-have: our beloved Outlook is to blame. It's a desktop program, and if the _blank value isn't specified, Outlook will try to open the link inside its own app.
Next comes the link's style — the same properties as with regular text. And a link on a specific word would look like this:
<div style="line-height: 14px;">
<span style="font-family: Arial, Tahoma, Helvetica, sans-serif; font-size: 12px; color:#000000; font-weight: normal; text-decoration: none;">
Here's some text, <a href="https://en.wikipedia.org/wiki/Hyperlink" target="_blank" style="color: #808080;text-decoration:underline;">
and here's a link </a>.
</span>
</div>
Here's what you get:
Here's some text, and here's a link.
But a link doesn't have to wrap just text — it's time to talk about images.
Images
Remember, in the first lesson we talked about void [self-closing] tags? Well, <img> is one of them. Here's what it looks like:
<img src="img/img.jpg" width="200" height="100" alt="Alt text" border="0" style="display: block;"/>
The src attribute points to where the image is located [in our case, showing a relative path]; width sets the width, and height sets the height of the image. As for alt, let's go into more detail: it defines the alternative text.
What is alternative text? It's written for images in case the image itself doesn't load [or, for example, if the user has disabled image loading in their mail client]. In other words, alt text is what the user sees when they can't see the image. It was originally introduced for visually impaired users, but over time it became much more widely used.
The alt text description should be accurate. If the image shows blue jeans, write "blue jeans," not "jeans sale in your city."
One thing to note: in Gmail, hovering over an image without a link shows a "Download" button:

To avoid this, you can "wrap" the <img> tag in an empty link tag:
<a><img src="img/img.jpg" width="200" height="100" alt="Alt text" border="0" style="display: block;"/></a>
And to make the image clickable, add a link:
<a href="link" target="_blank" style="color: #000000; font-family: Arial, Helvetica, sans-serif; font-size: 16px;">
<img src="img/img.jpg" width="200" height="100" alt="Sberbank" border="0" style="display: block;"/>
</a>
Why style the text here? Because it styles the alt text. That is, if the user has disabled images in their mail client and sees text instead of the picture, it will show up in Arial, black, at 16px.
Today many coders skip writing alt text, even though it matters.
But back to our code: border resets the borders, and the display property determines how the element should appear in the document. The list of its values understood by all browsers is quite short:
— block displays the element as a block [functionally the same as <div>];
— inline displays it as an inline element;
— inline-block generates a block element that other content wraps around like an inline element;
— list-item renders it as a block with a list marker added;
— none temporarily removes the element from the document.
There are other values too, but most browsers don't support them.
Spacing
You can set vertical spacing using an empty table with a specified height for the gap. For example, 10px:
<table width="100%" border="0" cellspacing="0" cellpadding="0">
<tr><td height="10" style="font-size: 0; line-height: 10px;"></td></tr></table>
Another option is separating sections with a divider line. Like this:

Its code:
<table width="100%" border="0" cellspacing="0" cellpadding="0">
<tr><td align="left" valign="top" style="border-top-width:1px;border-top-style:solid;border-top-color:#E7E7E7;">
</td></tr>
</table>
This is a table with no dimensions of its own. The border-top-width value sets the line's thickness at 1px, gray in color [border-top-color], and border-top-style sets the line style to solid. There are a few more values you can use:
- none removes the line;
- dotted makes it a series of dots;
- dashed produces a dashed line;
- double creates a double line;
- groove gives a grooved (recessed) effect;
- ridge produces a ridged (embossed) line;
- inset and outset create a three-dimensional line.

Now for the most interesting part — buttons.
Buttons
There are three ways to add a button to an email. The simplest is to download a button image and insert it into the code as a picture:
<a href="link" target="_blank" style="color: #000000; font-family: Arial, Helvetica, sans-serif; font-size: 16px;" >
<img src="img/btn.jpg" width="100%" alt="Button text" border="0" style="display: block;" /></a>
The downside: if the button text changes while working on the email layout, you'll have to re-upload the image from scratch.
The second way to add a button is a table:
<table width="200" border="0" cellspacing="0" cellpadding="0" style="width: 200px;">
<tr><td align="center" valign="middle" height="48" bgcolor="#ffffff" style="height: 50px; display: block; background-color: #ffffff; border-radius: 20px;">
<!—[if gte mso 9]>
<table border="0" cellspacing="0" cellpadding="0">
<tr><td nowrap align="center" valign="middle" height="48" style="padding: 0 30px;">
<![endif]—>
<a href="#" target="_blank" style="font-family: Arial, Helvetica, sans-serif; font-size: 24px; line-height: 50px; color: #000000; white-space: nowrap; font-weight: normal; text-decoration: none; display: block; padding: 0 30px;">
button text
</a>
<!—[if gte mso 9]>
</td></tr>
</table>
<![endif]—>
</td></tr>
</table>
Using the width attribute we set the button's width [200], and duplicate that same width in the styles [style="width: 200px;"]. We zero out cellspacing and cellpadding so no borders show, then set the cell's align attribute — it makes sure the button's content is centered within the email.
The valign attribute, as you remember, sets vertical alignment. Next we set the button's height [height] and its color [bgcolor], repeating the height and color values in the style properties too. If the button has an outline, the border property comes into play: border: 1px solid #color. Don't forget the display property, and set the corner radius if needed [border-radius].
Only Outlook doesn't recognize the border-radius property, so in that mail client the code will still render a square button.
Inside the <a> tag we set the link [href] and the button text style. The white-space property controls how spaces between words are displayed: the nowrap attribute forces the text inside the cell to display without wrapping, as one continuous line. Finally, we set padding to 0 30px [though it can be smaller — visually the button just looks better this way] — this keeps the button text from "sticking" to its edges on either side.
Outlook doesn't recognize internal padding on the <a> tag, so we specify it in a conditional comment aimed at that mail client [style="padding: 0 30px;"].
There's also a third way to add a button to an email, one that produces a rounded button even in Outlook: using a VML background. As we mentioned before, you don't need to know this markup language yourself — you can use dedicated services instead. For example, Bulletproof email buttons. It's basically a button builder:

Here's how it works: just type in the button text, set its size and color. We don't need a background or borders, so remember to uncheck the background image and border color options. But it's all flexible — if the button should have an outline, specify its color. Border radius sets the corner rounding, and the Button URL field lets you add the link the button should lead to right away.
After that, all that's left is to check out the result and copy the generated code. Here's the button we ended up with:

Its code:
<div><!—[if mso]>
<v:roundrect xmlns:v="urn:schemas-microsoft-com:vml" xmlns:w="urn:schemas-microsoft-com:office:word" href="#" style="height:40px;v-text-anchor:middle;width:200px;" arcsize="50%" stroke="f" fillcolor="#000000">
<w:anchorlock/>
<center>
<![endif]—>
<a href="#"
style="background-color:#000000;border-radius:20px;color:#ffffff;display:inline-block;font-family:sans-serif;font-size:13px;font-weight:bold;line-height:40px;text-align:center;text-decoration:none;width:200px;-webkit-text-size-adjust:none;">Beautiful button</a>
<!—[if mso]>
</center>
</v:roundrect>
<![endif]—></div>
But something's missing: the site doesn't set the font or its size. So the font-family and font-size values need to be added by hand:
<div><!—[if mso]>
<v:roundrect xmlns:v="urn:schemas-microsoft-com:vml" xmlns:w="urn:schemas-microsoft-com:office:word" href="#" style="height:40px;v-text-anchor:middle;width:200px;" arcsize="50%" stroke="f" fillcolor="#000000">
<w:anchorlock/>
<center>
<![endif]—>
<a href="#"
style="background-color:#000000;border-radius:20px;color:#ffffff;display:inline-block;font-family:Arial,Helvetica,sans-serif;font-size:16px;font-weight:bold;line-height:40px;text-align:center;text-decoration:none;width:200px;-webkit-text-size-adjust:none;">Beautiful button</a>
<!—[if mso]>
</center>
</v:roundrect>
<![endif]—></div>
So we've covered all the core elements of an email — text, links, images, spacing, and buttons. Now you know how to fill an email with content. Let's get building 😉
🚀 Pick a ready-made template or start from scratch in the visual editor, and build your first email with Letteros!