
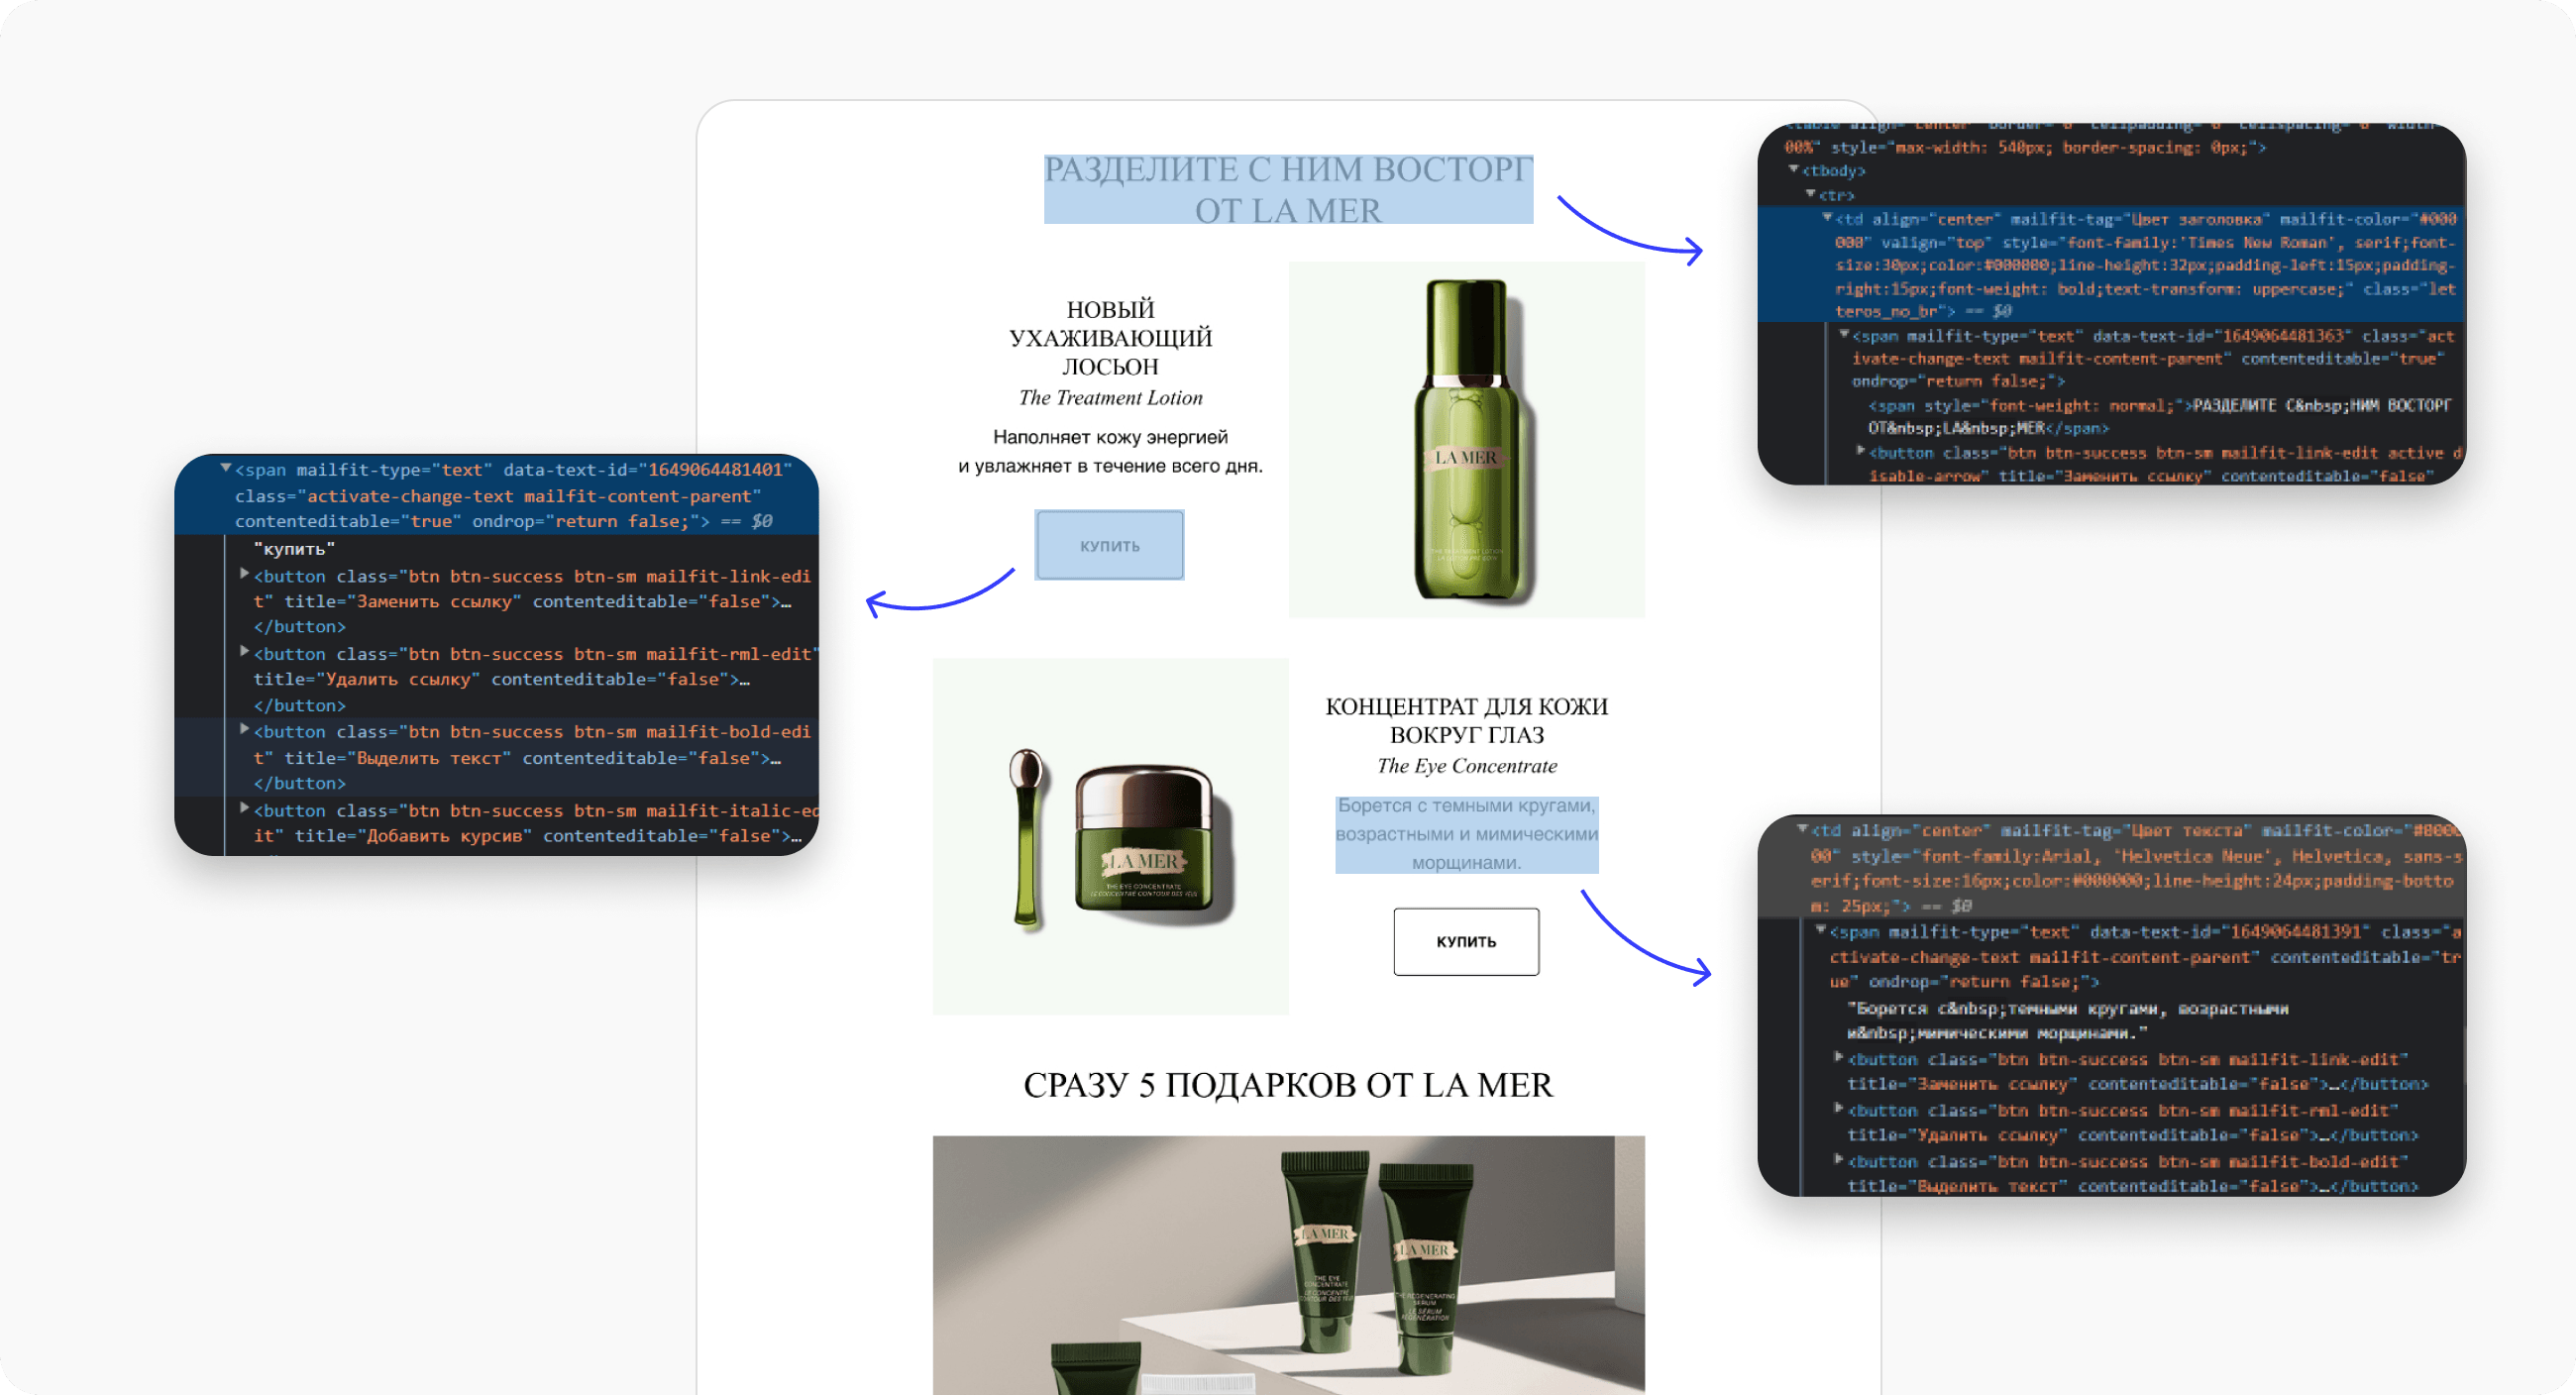
Hi! This is the “Email Coding” course from Letteros. We wrote this course to teach anyone interested how to code email newsletters in HTML. And we'll start with a short introduction: we'll explain what an email newsletter is and why creating emails is nothing like creating a website or a landing page.
If you send an email from your own mailbox to friends and colleagues, that can technically be considered an email newsletter too. But in this course, we mean its commercial purpose: emails sent by a company to its customers. They can be used to announce a company's new service, tell customers about a store sale, or notify a buyer about what's happening with their order.
Text alone isn't enough for a commercial email. You need visuals [in other words, design — how the email will look] and coding. That's why preparing such an email involves a whole team of specialists. The marketer comes up with the topic, the copywriter writes the text, the designer handles the look. And the coder is the one who makes the magic happen: the design mockup “comes to life” and becomes an HTML document ready to be sent by email — one that also needs to be adapted for all kinds of devices.
Of course, it would be great if you could make just one version of an email that looked the same on every device. But that's far from reality and hardly achievable. Email programs render the same HTML code differently. So the coder's job isn't just to turn the email design into clean code, but also to make sure the email looks good everywhere.
In this course, we'll break down the HTML code of a real email — we'll study its structure, break it down into its component parts, and discuss each one in detail. By the end of the course, you'll be able to code email newsletters on your own, adapt the layout for mobile phones, and control how the email displays across all versions of Outlook.
We'll start with the basics and finish with specialized skills and secret tricks. First, let's get to grips with HTML, its elements, and its syntax. Let's go!
HTML elements
HTML [HyperText Markup Language] is a markup language that describes all the content of a web page — in our case, an email. It's used to tell the browser how to display the web pages you visit.
It's written in an HTML document. This is a plain text document with an .html extension that can be created even in an ordinary text editor like Notepad.
An HTML document consists of a tree of HTML elements and text. The elements of an email are things like a heading, a menu, a button, text. HTML determines how all of them are displayed — their font, size, how they're positioned on the page, and how they interact with each other.

Tags
If a theater begins with the coat check, then knowledge of HTML coding begins with tags. That's what the elements of the markup language that show where one element begins and where it ends are called. They consist of an element name surrounded by the angle brackets “<” and “>”.
Tags can be paired or single, and paired tags are in turn called opening and closing tags. A closing tag is formed by adding a slash before the element name:<element name>…</element name>. The element's content sits between the opening and closing tags.
By the way, elements can be “nested” inside one another, but when nesting them you must strictly follow the closing order. An element opened inside another element must be closed inside it:

As you've probably gathered, a paired tag lets you mark the beginning and end of a specific element. But there are tags that add a single object to the page [for example, an image], and for that they don't need to wrap any text. That's actually why they're called single (void) tags.
In theory, you can use single tags on their own too. For example, the <br> tag is simply placed between two lines that need to be separated by a line break. Or the paragraph tag <p> — used on its own, it “works” up until the next <p> tag.
But we don't recommend doing this: it can lead to errors, and among coders it's considered bad practice.
Elements represented by single tags don't hold content directly. For them, it's specified as an attribute value — something that defines a property of an object, element, or file.
Attributes let you change the properties and behavior of the element they're set on. They're all written in the element's opening tag and consist of a name and a value, specified like this: attribute name=»value».
For example, the <img> element inserts an image into the page exactly where it's placed. The image source is specified in the src attribute:
<img src=»https://raw.githubusercontent.com/mdn/beginner-html-site/gh-pages/images/firefox-icon.png»>
You can specify keywords, numbers, date and time, colors, and URLs in the same way.
There are elements with no content, called empty elements. For example, <img> — it doesn't wrap any of the email's content and doesn't give it new characteristics. It can contain attributes that say: “This is where an image is inserted into the HTML page”.
It's also worth noting that the same tags can differ between different HTML versions. That's because this language [like the internet as a whole] evolved gradually. HTML's evolution went roughly like this:

HTML syntax
This is what the rules for writing tags and attributes are called. Yes, like any language, HTML has its own rules — they're relatively simple and come down to defining boundaries, so you know where something starts and where it ends.
Every document has its own structure. So what's the structure of HTML? Take a look at this example:
<!DOCTYPE>
<html>
<head>
<title></title>
</head>
<body>
</body>
</html>
The first tag we come across in coding is <!DOCTYPE>. It's needed to specify the current document's type — DTD [document type definition].
This tag is needed so the browser understands how to interpret the current web page, since HTML exists in several versions. As you've probably gathered, the latest one — HTML 5.0 — is used now. For this version, the tag looks like this: <!DOCTYPE html>.
The catch is that not all email clients support the latest version of HTML, so version 4.01 is used for email:
<!DOCTYPE html PUBLIC «//W3C//DTD XHTML 1.0 Transitional//EN»
«https://www.w3.org/TR/xhtml1/DTD/xhtml1-transitional.dtd»>.
Another important element you can't do without in coding is <html> itself. This tag essentially “wraps” the content of the whole page, enclosing all of its content.
Next come the <head> [header] and <body> [content] tags. It's written like this:
<html>
<head>
<title></title>
</head>
<body>
</body>
</html>
The <head> element conveys information about the page, but not about its content. This includes things like keywords, the page description, CSS styles, character encoding, and much more. It contains the mandatory <title> tag [defines the document's title] — its absence will be treated as an error.
The <body>, on the other hand, contains all the content you want to display: text, images, pictures, buttons.
Now that we've covered the main elements, let's move on.
Table-based coding
You probably already know what a table is: it's data neatly organized “into shelves” that's easy to read using rows and columns — you just need to match up the headers. That's why HTML tables are well suited for organizing tabular data. They look like this:

For people who code websites, table-based layout is already a relic of the past. But in email newsletters, it's the only method suitable for displaying an email correctly. That's because messages can be opened in email clients and browsers that don't support newer versions of HTML. In short, table-based coding is what guarantees an email will display correctly on every platform.
The content of an HTML table is enclosed between two tags: <table></table>. Like any other table, an HTML table consists of rows and cells: they're defined using the <tr> and <td> tags.
To create a row, you use the <tr> element. Next comes the smallest container in a table, the cell. It's created with the <td> element. Cells aren't stacked on top of each other — they're automatically aligned relative to the other cells in the same row. Each additional <td> cell you add extends that row.
Here's what the table markup might look like:
<table>
<tr>
<td>
cell 1
</td>
<td>
cell 2
</td>
</tr>
<tr>
<td>
cell 3
</td>
<td>
cell 4
</td>
</tr>
</table>
And here's what the table looks like in the end:
cell 1 | cell 2 |
|---|---|
cell 3 | cell 4 |
If we need different rows in a table to have different numbers of cells, we use the cosplan attribute. It sets the number of cells that should be merged horizontally. Its syntax is:
<td colspan=»number»>…</td>
And a table created using it might look something like this, for example:
cell 1 | |
|---|---|
cell 2 | cell 3 |
A table header is defined using the <th> tag. This is a special cell that goes at the start of a row or column and indicates the type of data they contain. The <th> tag works like <td>, but marks a header instead of a regular cell. Text in such a cell is usually displayed in bold and centered.
The align attribute aligns the content of such a container. Here's an example of its syntax:
<td align=»center»>…</td>
Accordingly, the other values for this attribute are left and right.
And the valign attribute aligns cell content vertically:
<td valign=»top»>…</td>
The values are:
— top aligns the cell content to the top edge of the row;
— middle aligns to the center;
— bottom aligns to the bottom edge;
— baseline aligns to the baseline, anchoring the cell's content to a single line.
And to change a cell's width and height, use the width and height attributes. The syntax is:
<td width=»20″ height=»20″>
</td>
The value is specified in pixels, but unlike style properties, you don't need to add the px suffix.
CSS
CSS stands for Cascading Style Sheets. Essentially, it's a language responsible for describing a document's appearance: CSS determines how an element should be displayed on screen.
In other words, HTML is responsible for the email's structure, while CSS is responsible for its formatting: font, color, margins, lines, background images.
To add CSS to an email, coders describe styles as attributes on HTML elements. Writing code like this isn't convenient, but it's the only way that displays correctly across all email clients and browsers. To simplify coding, you can run an HTML file with styles inside <head> or <body> through an inliner program.
Inliner is a small script that compares class names in HTML and CSS and inserts the styles into the tags. In other words, it transforms CSS into an attribute after each tag.
There are three ways to apply a stylesheet: an internal stylesheet, an external stylesheet, and an inline style. It all depends on where they're defined: on the page itself, or in an external file linked to the web page.
An external stylesheet helps attach CSS styles to an HTML document via a separate file. It's a plain text file with a .css extension that contains all the CSS code. To connect an external stylesheet, you need to use the <link> tag inside <head>:
<head>
<link rel=»stylesheet» type=»text/css» href=»styles.css»>
</head>
The catch is that in email coding, we can't connect styles via an external stylesheet, because Gmail strips them out.
An internal stylesheet is part of the web page's code and is always located inside a <style> element within the <head> tag:
<head>
<style>
body {
background-color: #ffffff;
}
h1 {
color: #000000;
margin-left: 20px;
}
</style>
</head>
Here, a white background color [background-color] and a black [color] heading with a 20-pixel indent [margin-left] from the left edge are set.
An inline style is used via the style attribute to set a unique style for a single element. All inline styles in the style attribute are listed separated by semicolons: “;”. It looks like this:
<h1 style=»color: #000000; margin-left: 20px;»>Heading</h1>
You don't need to add a semicolon after the last property.
Here are examples of styles used in email newsletters:
— padding-bottom: 10px; — inner spacing to the bottom edge of the table;
— color: #800080; — text color;
— font-size: 13px; font-family: Georgia, serif; — text parameters: font size and font family;
— line-height: 25px; — line spacing;
— display: block; — makes the element a block element: if you don't set this property, most email clients will add spacing around the image;
— background-color: #ff0000; — fills table cells with the color you want.
All CSS code is made up of special blocks called rules. Each rule consists of two parts:
- A selector, which tells the browser exactly which HTML elements to style. In other words, the name of the elements the set of styles should be applied to.
- A declaration block, which defines exactly how the elements matching the selector should be styled.
Example of a CSS rule:
div {
color: #ff0000;
font-size: 20px;
}
Here, the selector is the string div. This means the listed styles will be applied to every <div> on the web page.
By the way, styles like this are defined in the <style> tag, which needs to be placed inside the <head> container. These are no longer inline styles.
If your markup has repeating elements that need the same styling, you should use classes. They're also used when you need to define a style for a specific element or set different styles for the same tag.
In HTML code, a class name is defined via the class attribute with an arbitrary value:
<p class=»class name»>
Well, not entirely arbitrary: class names must start with a Latin letter and can contain a hyphen “-” and an underscore “_”. Cyrillic characters can't be used:
<p class=»cite»>
After that, a rule with a selector like .cite is defined in the CSS code, and the necessary styles are listed. The syntax is:
.cite { property1: value; property2: value; … }
It's worth paying attention to the dot in the .cite selector: when the browser encounters a selector with a dot, it recognizes it not as a tag name, but as a class name. In the end, it looks like this:

There's another way to set specific properties for an individual element — id attributes. This lets you write a CSS rule that applies only to one particular element. In this case, a “#” sign is used instead of a dot:
HTML code:
<h1 id=»title»>Heading</h1>
Linked CSS code:
#title { color:red; }
The catch is that every id on the page has to be unique, which is difficult. That's why classes are the preferred choice nowadays.
Comments in code
You'll often come across lines like this in coding:
<!— any text —>
This is a comment — the text inside it isn't displayed by the browser on the page. They're usually used to annotate code — you can leave notes or use them to structure the document.
Style priorities
In practice, you'll often run into cases where the same element is assigned the same style property with different values, coming from different sources. For example, from an external and an internal stylesheet, from classes and ids, from a tag selector, from the style attribute, and so on.
Which of these styles will the browser end up displaying?
To avoid style conflicts, developers created a system of priorities. As a result, the browser displays the style coming from the source with the higher priority. Here's a table showing the weight of each source [1 — lowest priority, 1,000 — highest]:

You can also boost a property's priority using the !important declaration, which overrides even inline styles. It looks like this:
p {color: #ff0000 !important;}
p {color: #008000;}
Here we see that the red color takes priority over the green one. But you shouldn't use this declaration too often — only when the conflict can't be resolved any other way.
About parents and descendants
An HTML document is built on a hierarchy: one element can contain others inside it. A tag that contains other tags inside it is called an ancestor, and those “other” tags are called descendants. For example, the <head> tag is an ancestor, and <title> inside it is a descendant.
An ancestor at the first level of nesting is called a parent. And a descendant contained directly inside it is called a child element. So the <head> tag acts as both the parent and ancestor of <title>, while <title>, in turn, is the child element and descendant of <head>.
The number of child elements a parent can contain is unlimited. Child elements, however, can only have one parent. There are also sibling elements — these are child elements that share a common parent.
This family can't do without its children: the first child is what the parent's first child element is called, the last child is the last tag inside the parent.
Tools
Finally, here's the minimal toolkit an email coder will need. We use all of these ourselves in our work.
A code text editor. VS Code, Brackets, Sublime Text and others of your choice — for working with HTML code and syntax highlighting.
FileZilla. A program for uploading files via FTP [File Transfer Protocol — a file transfer protocol that appeared long before HTTP] — for storing images and web versions of your coded emails.
Figma. An online graphics editor for working with images.
Photoshop. For re-saving images for the web.
Outlook. For testing newsletters.
Test accounts on all the popular email providers. Gmail, Yandex, Mail.ru — for other tests.
So far we've only briefly touched on HTML email coding, but in this course we'll cover it in full detail. At the end of each lesson, you'll get practical assignments to help you reinforce the theory. Go for it!
📌 Want to put your knowledge into practice? Create your first email in Letteros — it's simple and intuitive!