
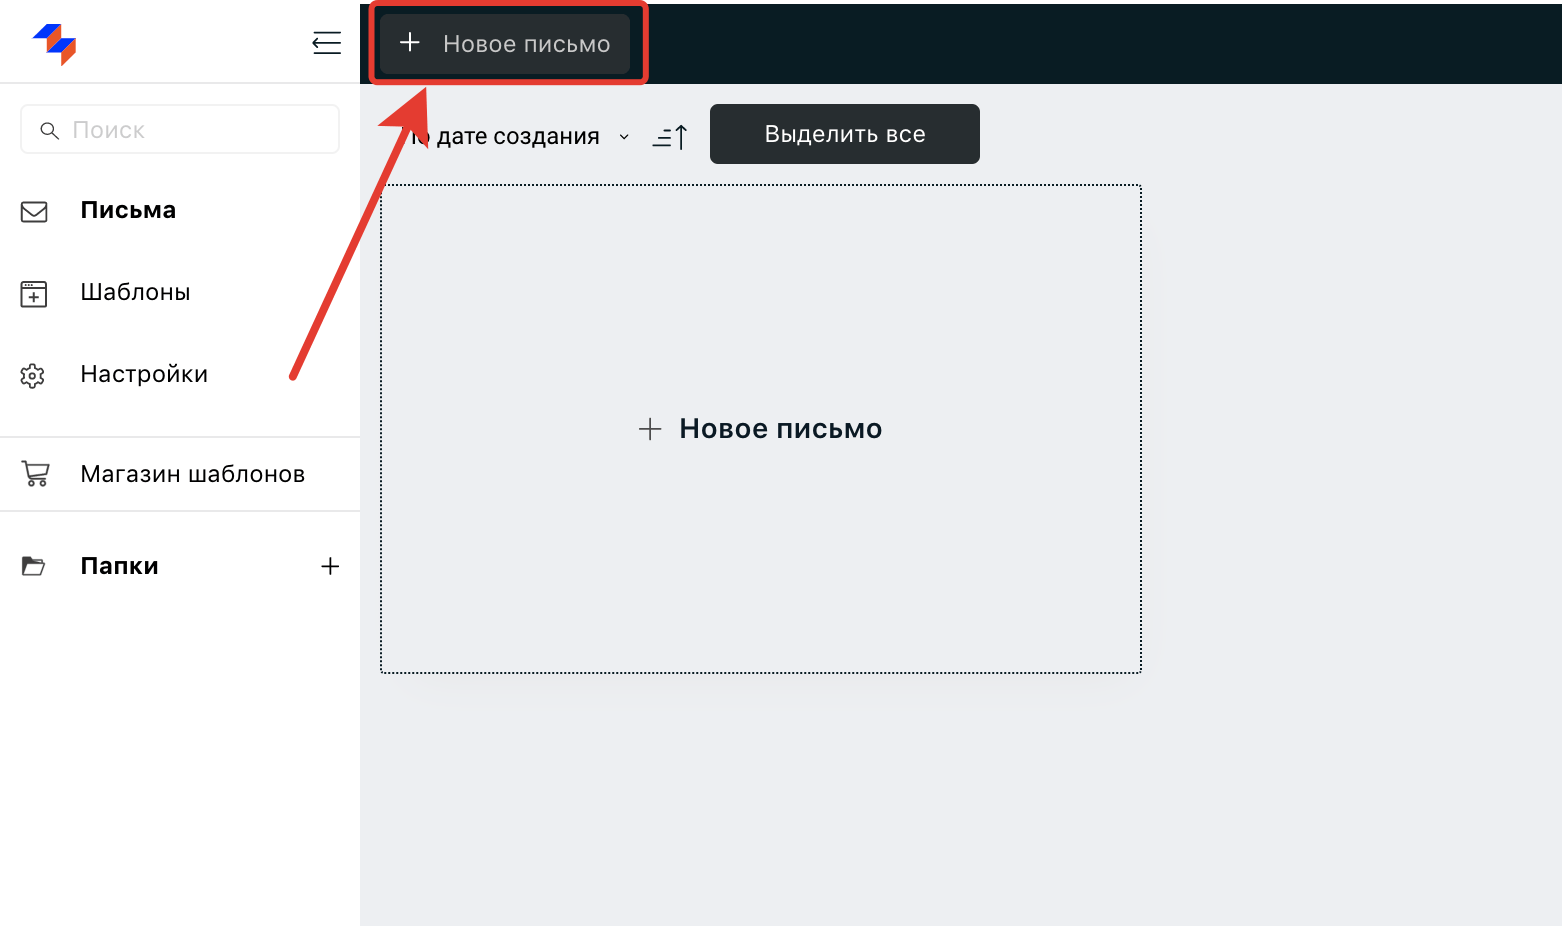
On the emails page, click "Add new email"

Select "upload template". Then upload the archive with the email markup and click "Continue". Example archive — a zip archive consisting of an index.html file with the markup and an images folder with pictures.

Once the archive is successfully uploaded, the editor page will open. Click "Test and export".

In the settings window, click "Continue". Checking the boxes is not required.

A testing screen will appear, from which you can send a test to any email or order the generation of renders. To generate renders, click the "Renders" button.

A list of devices available for rendering will appear. Select the ones you need and click "Start render".

Done. The system has sent the email to a real device and provided a screenshot of the result. Double-clicking the screenshot expands it.

Clicking "Publish renders" generates a link that you can share with the client as proof that the markup displays correctly on all devices. Example link
